
Motorcycle punctures can be a nightmare for any rider. They can cause significant damage to the bike, and even worse, they can leave you stranded on the side of the road. However, repairing a motorcycle puncture is not as complicated as it seems. With a few essential steps, you can get back on the road in no time.
Step 1: Identify the Puncture
The first step in repairing a motorcycle puncture is to identify the location of the puncture. To do this, you need to inspect the tire carefully. Look for any visible damage, such as a nail or piece of glass, or any bulges or cracks in the tire. If you are unable to find the puncture, you can use a spray bottle filled with soapy water and spray it on the tire. If there is a puncture, you will see bubbles forming where the air is escaping.
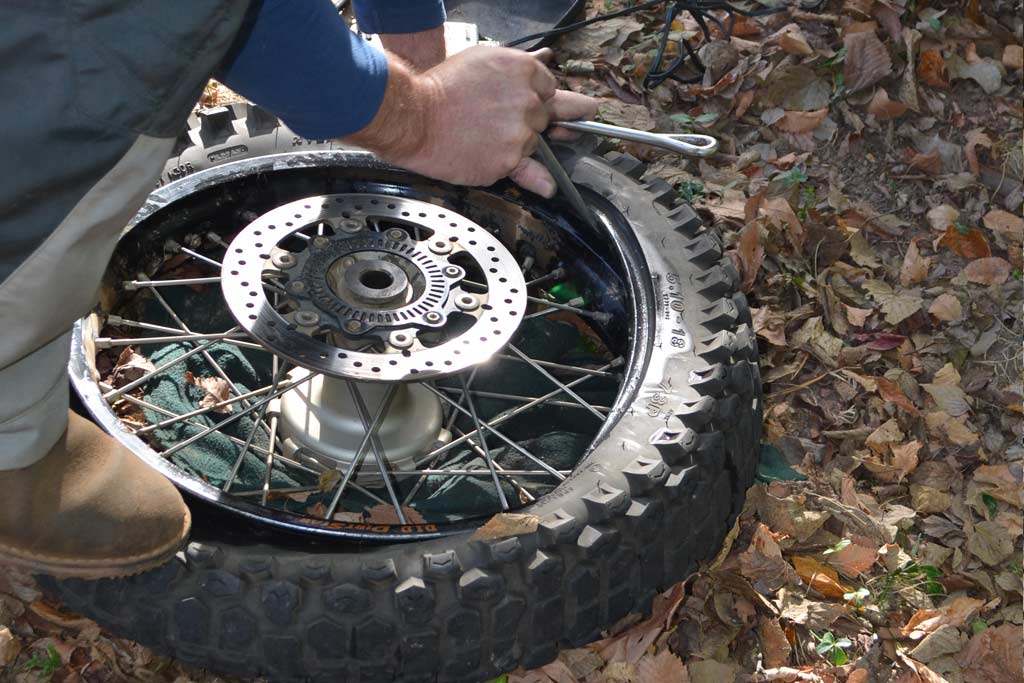
Step 2: Remove the Tire
Once you have identified the puncture, you need to remove the tire from the motorcycle. To do this, you need to remove the wheel from the bike. First, you need to loosen the axle nut and then remove the axle. Next, remove the brake caliper and slide the wheel out of the fork. Once the wheel is out, you can remove the tire from the rim.
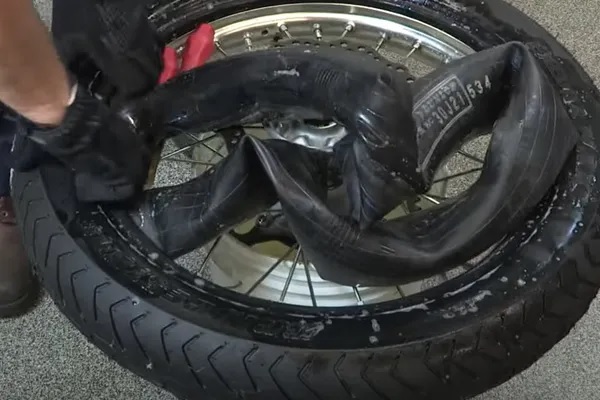
Step 3: Repair the Puncture
Now that you have the tire off the rim, it’s time to repair the puncture. There are two ways to repair a puncture: using a patch or using a plug. A patch is a piece of rubber that is glued onto the inside of the tire. A plug is a piece of rubber that is inserted into the puncture hole.
If you are using a patch, you need to clean the area around the puncture with a wire brush and then apply rubber cement. Next, you need to apply the patch to cover the puncture and press it firmly into place. Make sure the patch is centered over the puncture and that there are no wrinkles or air pockets.
If you are using a plug, you need to insert the plug into the puncture hole and then trim the excess rubber flush with the surface of the tire. Make sure the plug is inserted all the way into the hole and that there are no leaks.
Step 4: Reinstall the Tire
Once you have repaired the puncture, it’s time to reinstall the tire. To do this, you need to place the tire back onto the rim and inflate it to the recommended pressure. Next, you need to reinstall the wheel onto the motorcycle. Make sure the wheel is aligned properly and that all the bolts and nuts are tightened to the recommended torque.
Step 5: Check for Leaks
Before you hit the road, you need to check for any leaks. To do this, you can spray soapy water onto the repaired area and look for any bubbles forming. If there are no leaks, you are good to go.
Conclusion
Repairing a motorcycle puncture can be a simple process if you follow these essential steps. However, it is important to remember that prevention is better than cure. Always keep an eye on your tires and make sure they are properly inflated and in good condition. This will help to prevent punctures and keep you safe on the road.