

Anyone who’s stood in a parking lot wincing at a fresh scratch has probably typed some version of this question into a search bar.
The honest answer is more nuanced than a simple yes or no: paint correction can eliminate a wide range of surface imperfections, but it has real physical limits rooted in how automotive paint is actually built.
Understanding those limits is the difference between a technician who sets fair expectations and one who’s just trying to sell a package.
What’s Actually Happening When Paint Gets “Corrected”
Modern vehicle paint isn’t a single layer – it’s a stack. Underneath the shine sits an e-coat primer for corrosion resistance, a color (base) coat that gives the vehicle its hue, and on top of that, a clear coat that provides depth, gloss, and UV protection.
That clear layer is also where most of what people call “scratches” actually live: swirl marks from improper washing, spider-webbing from automated car washes, light key marks, and the general haze that comes from years of oxidation.
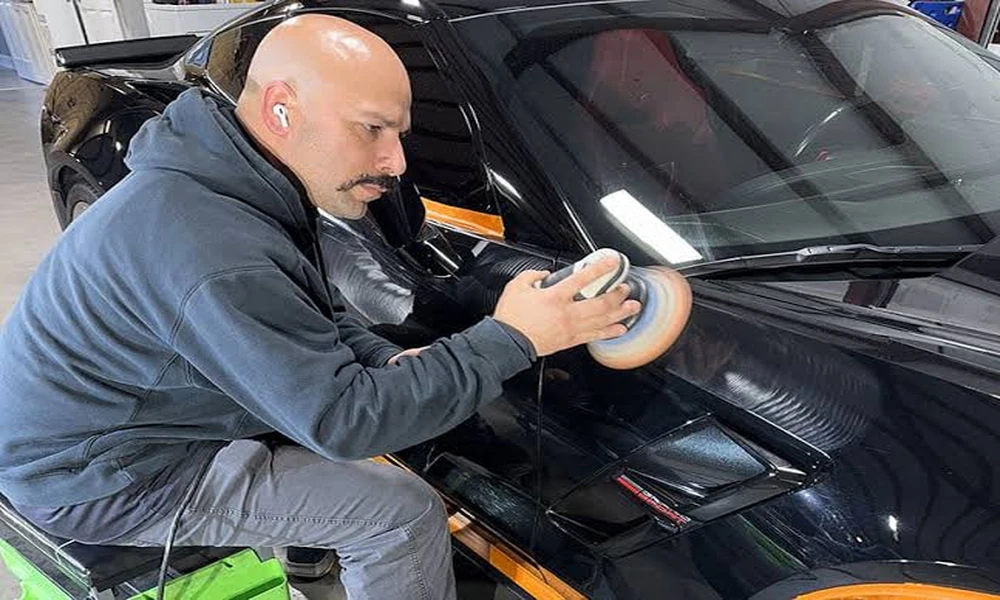
Paint correction is the process of leveling that clear coat with a graduated system of abrasive compounds and polishing pads – usually run with a dual-action or rotary polisher – to remove a microscopic layer of clear coat and everything embedded in it, until the surrounding paint is uniformly smooth and reflective again.
It isn’t filling anything in or masking damage the way some consumer scratch-remover products do. It’s genuinely removing material, which is exactly why it works, and exactly why it can’t go on forever.
Which Scratches Actually Respond to Correction
A simple test many technicians rely on is the fingernail check: run a fingernail lightly across the scratch. If your nail catches or snags, the damage likely extends below the clear coat into the base coat or primer, and correction alone won’t fully resolve it. If your nail glides over it smoothly, the scratch is probably confined to the clear coat – a strong candidate for correction.
Swirl marks, light scuffing, water-spot etching, and most everyday scratches from washing, brush-style car washes, or a jacket zipper brushing against a door panel fall into this correctable category.
So does the general dullness that develops on paint that hasn’t been cared for in years. In many of these cases, a multi-stage correction – compounding, then polishing, sometimes finishing with a light abrasive step – can make the damage essentially disappear under normal lighting.
Where Correction Reaches Its Limit
Deep scratches that cut through the clear coat and into the base coat or bare metal are a different story. No amount of polishing removes that kind of damage, because doing so would mean stripping away healthy paint on either side just to blend it in – and clear coat is genuinely thin to begin with.
Manufacturer clear coats typically measure somewhere around 40 to 50 microns thick, which is thin enough that paint thickness gauges, like the ones described in DeFelsko’s detailing resources, are considered standard equipment for any shop doing correction work regularly. Once that layer is compromised, the realistic options shift toward touch-up paint, spot repainting, or paintless dent repair if the scratch came with a dent.
This is why a reputable shop measures before it polishes. A paint depth reading tells a technician how much clear coat is actually available to work with on a given panel – information that matters enormously on a vehicle that’s been repainted before, since body-shop clear coat can vary widely from the factory original.
Skipping this step and going straight to an aggressive compound is how well-meaning DIY attempts sometimes end with a “burned” panel, where the clear coat is worn through entirely and the paint underneath is left dull, cloudy, or exposed.
What the Correction Process Actually Looks Like
A proper job starts long before a buffer ever touches the car. It typically follows a sequence like this:
- Wash and decontaminate. A thorough wash followed by a clay bar or chemical decontamination removes embedded contaminants – tree sap, rail dust, overspray – that would otherwise scratch the paint further during polishing.
- Inspect and measure. Paint depth readings across every panel establish how much clear coat is available, flag any prior repaints, and set the ceiling for how aggressive the correction can safely be.
- Test spot. A small, inconspicuous area gets worked first to confirm which pad-and-compound combination resolves the defects without removing more material than necessary.
- Compound and polish. Working section by section, the technician levels the clear coat in graduated stages – moving from a cutting compound for deeper defects to a finishing polish that restores clarity and gloss.
- Protect. Because correction removes a protective layer, most shops follow up with a sealant or ceramic coating to lock in the finish and slow the return of swirl marks.
How Long the Results Actually Hold Up
Because correction works by removing a layer rather than adding one, the results aren’t permanent in the way people sometimes expect. Every wash, every stretch of direct sunlight, and every brush with a shopping cart adds new micro-marring on top of a freshly corrected surface. That’s a normal part of owning and driving a car, not a sign that the correction failed.
What extends the results is the protection applied immediately afterward – a sealant lasting a few months, or a ceramic coating lasting anywhere from one to several years depending on the product – paired with gentler wash habits, like hand-washing with a two-bucket method or using rinseless wash products instead of an automatic tunnel wash with brushes.
None of that stops new marks from ever forming, but it slows how quickly they show up, which is usually enough that a full correction only needs repeating every few years rather than annually.
Setting Realistic Expectations
Paint correction is genuinely effective, but it isn’t magic, and any shop that promises to erase every mark on a car sight unseen is skipping the inspection step that actually determines what’s possible.
A fair assessment usually sorts a vehicle’s flaws into three groups: defects that will fully correct, defects that will visibly improve but not disappear, and damage that’s beyond the clear coat and needs a different repair method entirely.
That kind of honest, panel-by-panel evaluation is really the point of working with an experienced detailer rather than guessing with a bottle of scratch remover from an auto parts store. Shops like Precision Detailing, for instance, typically start with that measurement and inspection stage before recommending a path forward, since the right approach depends entirely on how much usable clear coat remains and how deep the damage actually runs.
For vehicles dealing with genuine swirling, oxidation, or shallow scratching, a multi-stage paint correction service is usually where that assessment leads, followed by some form of protection so the work actually lasts.
Technicians who pursue certification through the International Detailing Association are trained specifically on this kind of judgment call – not just how to run a polisher, but when correction is the right tool for the damage in front of them, and when it isn’t.
The Bottom Line
Paint correction can remove a genuinely wide range of scratches, swirl marks, and dullness, provided the damage is confined to the clear coat. What it can’t do is reverse damage that’s already cut through to the base coat, primer, or metal beneath.
The best way to find out which category a particular scratch falls into isn’t a home remedy or a guess – it’s having someone measure the paint, look closely at the damage, and give a straight answer about what’s realistic before any polishing starts.